Rice: Stovetop and Rice Cooker | The Game Larder
Rice: Stovetop and Rice Cooker
Rice is a grain you cook by boiling it in water until the starch swells and the water is fully absorbed, and the two methods that cover 99% of home kitchens are the stovetop pan and the rice cooker. The core mechanic is a 1 to 1.5 water-to-rice ratio for short- and medium-grain varieties and a 1 to 1 ratio for long-grain white rice such as jasmine, with the grain absorbing roughly 2 to 3 times its dry weight in 15 to 20 minutes. The rice cooker does the same job but holds temperature at the 100 C boiling point automatically, so the only inputs you control are the water line and the start button. Mastering these two routes takes about 3 cook attempts, after which the ratio, the soak, and the rest become muscle memory and the grain stops splitting or turning to paste.
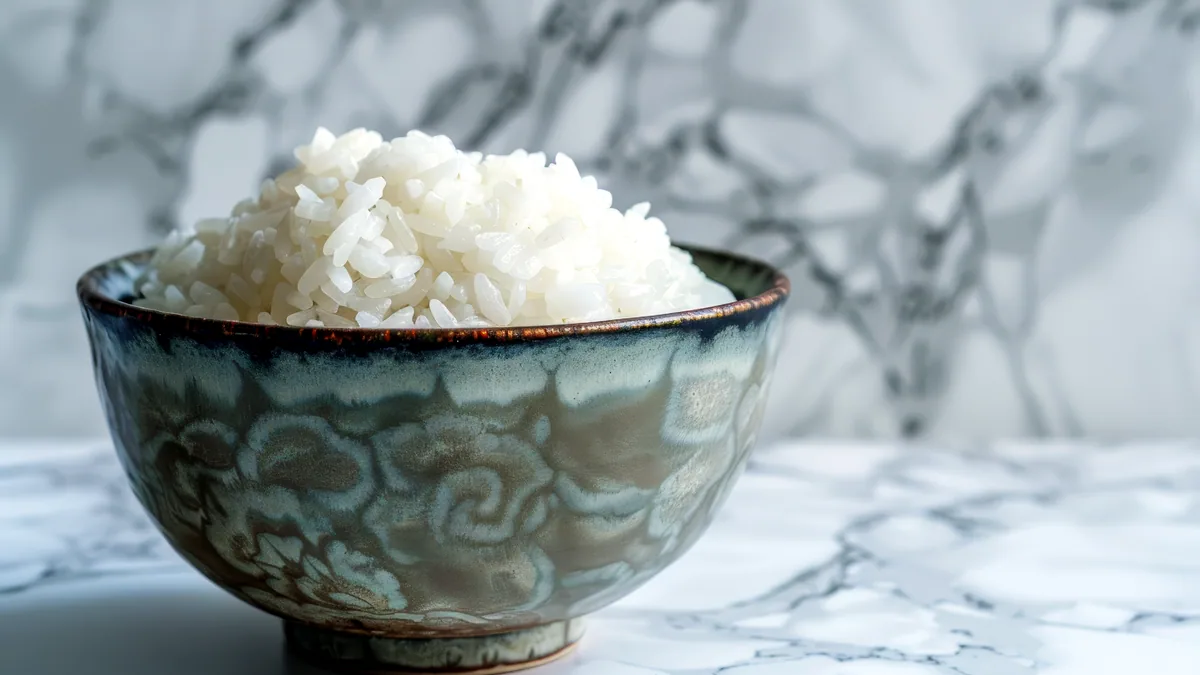
On The Game Larder, rice sits next to other whole-grain sides that carry a main course, and the same soak-and-rest discipline that makes jasmine shine applies to the whole family. If you are building a plate around a slow-cooked shoulder or a pan-seared haunch, the grain you choose and the method you cook it in decide whether the dish feels finished or rushed. The adjacent guides on Cooking Species, Cuts and Preparation and Cooking Asparagus show the same principle from the meat and vegetable side, while Quinoa Fluffy and Light covers a seed that uses a nearly identical water ratio. All of it feeds one idea: From field to fork, the quality of the grain is only half the story; the cook is the other half.
Stovetop rice: the ratio and the rest
To cook rice on the stove, you measure dry grain, add water at a fixed ratio, bring it to a boil, then simmer it covered on the lowest heat the burner allows. For 1 cup (240 ml) of uncooked jasmine, add 1.5 cups (355 ml) of water, 1 pinch of salt, and 1 teaspoon of butter or neutral oil. Bring the pot to a rolling boil with the lid off for 1 minute, then drop the heat to the lowest setting, cover tightly, and let it steam undisturbed for 15 minutes. Turn off the heat and leave the lid on for a further 5 minutes. The rest is non-negotiable: the trapped steam finishes the hydration in the centres of the grains, and lifting the lid early pulls that steam out, leaving the middle of the pot chalky while the bottom layer turns to a hard crust. Rinsing the dry rice in cold water until the water runs nearly clear removes the surface starch that causes the grains to fuse, and a 10 minute soak before cooking shortens the simmer by about 2 minutes because the grain already holds some moisture. A flat-bottomed saucepan with a tight-fitting lid works best; a wide, shallow pan loses steam and dries the top layer before the centre is done.
Rice cooker method and the cook versus warm question
To use the rice cooker correctly, you place rinsed rice in the inner pot, add water to the printed line for your grain count, and press the single Cook button; the cooker then manages the transition from boil to simmer to hold without any input from you. Most modern cookers run 2 to 5 programmes, but the plain white-rice setting handles jasmine, basmati, and short-grain white rice without adjustment. The Cook setting drives the heating element to 100 C and keeps it there until the water is gone, at which point the thermostat detects the temperature spike and switches the pot to Warm. Warm holds the rice at roughly 65 to 75 C, which is safe from bacterial growth but slowly dries the surface and, after 2 to 3 hours, turns the top layer gummy and the bottom layer crisp. The rule is simple: Cook is for making rice, Warm is for keeping already-cooked rice at serving temperature for no more than 30 minutes before plating. If you know the rice will sit for longer than 30 minutes, spread it on a tray to cool, then reheat in short 2-minute bursts under a damp cloth rather than letting Warm do the drying work. The cooker also eliminates the stovetop risk of a dry, scorching bottom because the element is sealed off from the pot base, so even a first attempt produces an even texture.
Jasmine, basmati, and short-grain: matching the grain to the method
Choosing the right grain for the right cooker method is what separates a plain side from a texture that holds up to a sauce or a grain that crumbles at the first fork touch. Jasmine rice is a medium-grain Thai long grain with a subtle pandan aroma that releases in the steam phase, so the 5-minute rest after stovetop cooking matters more here than with basmati, where the aroma is milder and the grain is firmer. Basmati, a long grain from the Punjab, benefits from a 20-minute soak and a 1 to 1.25 water ratio, and it shines in a rice cooker on the brown-rice programme set one notch below the white setting. Short-grain Japanese rice, the variety behind sushi and risotto-style dishes, takes a 1 to 1.05 ratio and a 10-minute rest; on the stove it needs the lid weighted down with a small plate to prevent steam escape. A 500 g (about 3 cups dry) bag of jasmine feeds 4 to 5 plates as a side, and the same bag in a cooker yields the same volume but with less attention, which is the practical argument for keeping both methods in rotation.
The 5 mistakes that ruin a pot of rice
Avoiding the small errors that wreck an otherwise good pot is the fastest way to go from inconsistent results to repeatable ones, and the 5 below account for most of the failures in a home kitchen.
- Skip the rinse: the surface starch that remains after a single quick swish under the tap is enough to turn jasmine into a sticky, fused mass instead of separate, glossy grains.
- Lift the lid during the simmer: each lift releases 3 to 5 C of steam and extends the cook by 2 to 3 minutes, drying the top layer while the centre is still dense.
- Guess the water ratio: adding "a bit more water" to a pot that is already at the 1 to 1.5 mark produces a soupy, congee-like result that no amount of draining can fix.
- Stir the rice while it cooks: stirring breaks the grain structure and releases more starch into the water, so the pot goes from separate grains to porridge in 2 minutes.
- Serve immediately without resting: the grain needs the 5-minute off-heat rest to finish absorbing the trapped steam, and serving it straight from the heat leaves the bottom layer underdone and the top layer overcooked.
Storage, reheating, and second-day rice
Storing cooked rice safely and reheating it without the gummy, dried-out texture that makes most people throw it out comes down to speed at cooling and controlled moisture at reheat. Spread the hot rice in a thin layer on a clean tray and let it reach room temperature within 1 hour, then transfer it to a sealed container and refrigerate; it keeps for 4 days at 4 C. For freezer storage, portion the rice into 250 g bags, squeeze out the air, and flatten the bag so it thaws in 10 minutes under warm water rather than an hour in the microwave. To reheat a refrigerated portion, scatter 1 teaspoon of water per 1 cup of rice, cover, and microwave on full power for 60 to 90 seconds, then rest covered for 2 minutes so the steam redistributes. The rice cooker Warm setting works for a single serving held under 30 minutes but will not rescue rice that has been cold for hours, because the starch has already retrograded and the grain structure is set. Day-two rice, cooled properly and reheated in a pan with a splash of oil over medium heat for 3 to 4 minutes, actually improves: the firm, separate grains take a sear that fresh rice cannot, which is the same principle behind a good fried rice or a grain salad with a cold, structured bite.