Quinoa Fluffy and Light | The Game Larder
Quinoa Fluffy and Light
Quinoa cooks to a fluffy, light grain when you give it a 1 to 1 ratio to water, a 10 minute simmer, and a 5 minute rest off the heat, a method that the Game Larder applies to any wild game plate that needs a fast, neutral bed to lean on. The whole routine takes about 15 minutes from the moment the pot hits the flame to the moment you break the grains apart, and the first 30 seconds of rinsing decide whether the result is clean and fluffy or bitter and sticky.
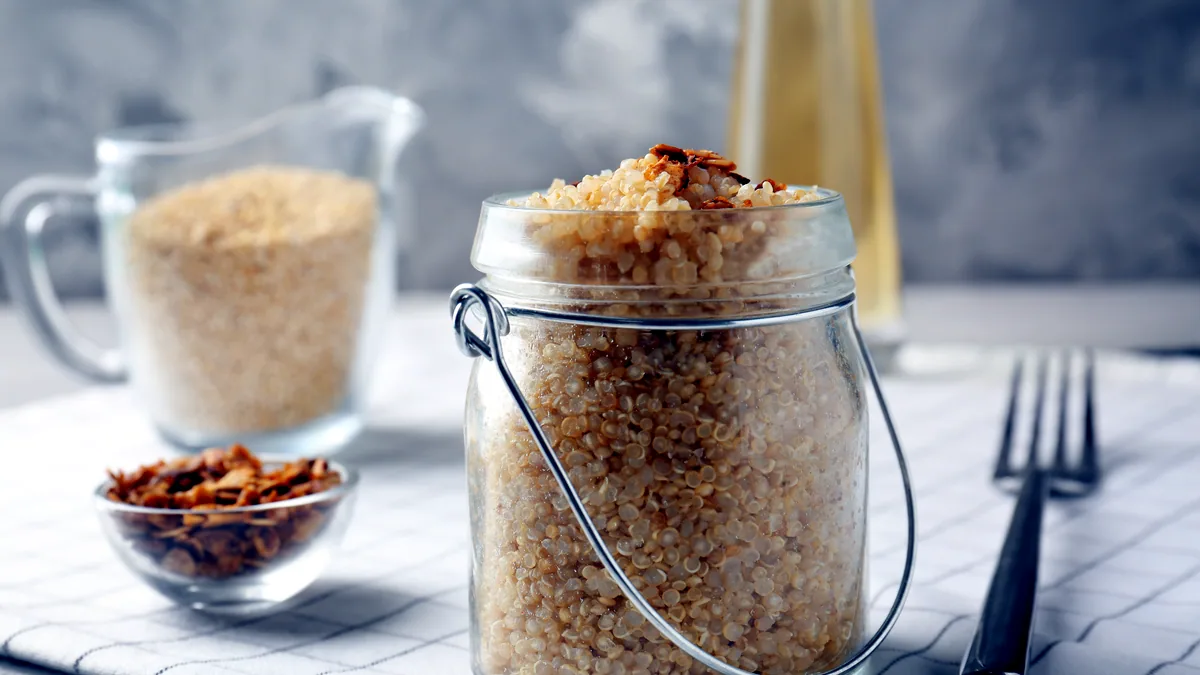
Quinoa earns its place here because a lean piece of wild game wants a soft, forgiving side rather than a starchy one, and the same rinse and boil logic the Larder uses for grains runs through its other grain pages, such as Cooking Species, Cuts and Preparation, Rice: Stovetop and Rice Cooker, and Cooking Asparagus, all of which share one rule: control the water, watch the timing, and stop the heat on purpose. That rule is what carries a dish from a raw ingredient to a finished plate, From field to fork, and it is the rule this page walks through one step at a time.
What Makes Quinoa Fluffy and Light
Quinoa reaches its fluffy, light texture because the grain is a small seed about 2 mm across that holds its own shape instead of breaking down, so a correct cook leaves you with distinct, separate kernels rather than a mash. Each kernel has a thin outer saponin layer that tastes soapy if you leave it on, which is why the rinse comes first, and a thin spiral of starch on the rim that pops out as a visible ring when the grain is done, which is why the rest comes last. The grain keeps its body because you cook it in a measured amount of water and then let steam finish the job off the flame, the same two moves that keep a pot of rice fluffy and keep a braise from turning to paste.
Rinsing Quinoa Before You Cook It
Rinsing before you cook removes the saponin that makes quinoa taste bitter and soapy, and it takes 30 seconds with a fine mesh strainer. Hold the quinoa under cool running water and rub it gently with your fingers for about 20 to 30 seconds until the water runs mostly clear, then drain it well so the pot starts dry. If you skip the rinse you can mask the bitterness with a pinch of salt and a little fat in the pot, but a 30 second rinse does the same job for less effort, and a fine mesh strainer catches the small grains that a coarse colander lets slip away.
White, Red, and Tri Colour Quinoa
The colour of the quinoa changes the finish you get, so match the grain to the plate. White quinoa is the lightest and the most neutral, red quinoa holds a firmer bite and a nuttier note, and tri colour quinoa is a mix of the two that cooks a little longer because the darker grains are denser. For a game dish where the grain should disappear under the meat, choose white and rinse it well; for a grain where you want the bite to show, choose red and give it an extra 2 minutes of simmer. The timing below is written for white quinoa and for the 1 to 1 ratio that gives the lightest result.
The Stovetop Method: 1 to 1 Water and a 15 Minute Cook
The stovetop method is a 1 to 1 ratio of quinoa to water, brought to a boil, simmered for 10 minutes, and rested for 5 minutes off the heat. Measure 1 cup of rinsed quinoa and 1 cup of water or stock, add a pinch of salt, and pour both into a small pot. Bring it to a rolling boil over medium high heat, then drop the heat to a low simmer and cover the pot. After 10 minutes the water is drawn down, the grains have swelled, and the thin starch ring has started to show, so you turn the heat off, leave the lid on, and let the grains steam for 5 minutes. When you break the lid open the kernels should be tender with a slight bite and a visible ring around each one, and the pot should be dry at the bottom. The rest is the part most cooks rush, and it is the part that turns a soft, slightly wet grain into a light, dry one, the same reason a pot of rice needs to sit before you fluff it.
Water and Stock, Fat and Salt
The liquid you choose is the only place the grain will pick up flavour, so spend the effort there. Plain water gives the cleanest, most neutral grain, stock gives it a savoury depth that suits a game dish, and a small knob of butter or a spoon of olive oil added at the end keeps the kernels from clumping and helps them separate. Salt goes in with the water, not after, because the grain takes the salt in as it swells and it cannot absorb it once it is cooked. A light hand works best here: a pinch of salt and a little fat at the end, then a fluff with a fork, is usually all a grain this neutral needs to sit under a piece of wild game.
Timing and the Signs of Done
Timing and the signs of done tell you when the quinoa is ready, and the two checks below work better together than either one alone. The clock says 10 minutes of simmer plus 5 minutes of rest, but the clock is only a guide, and the grain itself is the real tell. The first sign is the ring: when the thin starch on the rim of each kernel pops out you see a small spiral around it, and a kernel with a clear ring is a cooked kernel. The second sign is the taste: take a kernel, blow on it, and bite, and if it is tender with a slight bite you are done, while a hard centre means it needs another 2 minutes of water and a simmer. The third sign is the pot: a dry bottom means all the water is gone and the grains are steaming, while a wet bottom means the pot is still holding liquid and the grain will keep cooking and turn to mush if you leave it.
Fluffing and Resting for a Light Finish
Fluffing and resting give the quinoa its light, separate finish, and they happen in the 5 minutes after the heat goes off. Rest the pot with the lid on for the full 5 minutes so the trapped steam finishes the centres of the kernels evenly, then remove the lid and run a fork through the grain in a gentle lifting motion rather than a stirring one, so you break up any clumps without crushing the kernels. If the pot still holds a little liquid at the bottom, set it back on a low heat for 1 minute and check again, because the last of the water should evaporate and leave the grain dry. The result should be a light, dry bed of separate kernels that holds its shape on the plate and does not turn to a sticky mass as it sits, and it should take on the flavour of whatever fat or stock you cooked it in. That is the grain the Game Larder plates under a piece of wild game: fluffy, light, and ready to carry the meat rather than fight it.